
6 Things I Do to Make Gutenberg Development Easier
I was a relatively late adopter to Gutenberg, stubbornly sticking to Classic Editor and a combination of template files and tried & tested tricks to build themes for clients. However, as Gutenberg improved and the demand for more power over builds increased, it made sense to bite the bullet and get stuck in. I’ve now built several Gutenberg-powered sites, and despite its quirks, have grown to enjoy using the editor.
Here are 6 things I do to make developing websites with Gutenberg easier…
1. Make the editor full width
Various elements in the editor have a max-width set. I assume this is for the benefit of developers with a 300000 pixel wide screen resolution (might be exaggerating) but if you’re doing anything with the column block – and especially if you have more than a couple of columns – this becomes a pain in the bum to edit:

By forcing a ‘none’ on the max-width for the restricted elements, we get a wider editing experience which is easier to manage multiple columns:
This can be achieved by injecting some inline CSS to the editor head, or via the less lazy (and arguably more correct) add_editor_style(). Unfortunately, I’m lazy, and so the inline styles I use are as follows:
/* make gutenberg editor full width */
function gutenberg_admin_styles() {
	echo '<style>
		body.gutenberg-editor-page .editor-post-title__block,
		body.gutenberg-editor-page .editor-default-block-appender,
		body.gutenberg-editor-page .editor-block-list__block {
			max-width: none !important;
		}
		.block-editor__container .wp-block {
		    max-width: none !important;
		}
	</style>';
}
add_action( 'admin_head', 'gutenberg_admin_styles' );
2. Add the Reusable Blocks to the left hand menu
If you have a site that makes heavy use of identical blocks — for e.g. a call to action or similar — the reusable blocks are your friend. WordPress 5.7.1 brought some improvements to reusable blocks, but you still have to go hunting for an implementation of one if you want to edit it. If you’re working with a big site, that can take a while. I save myself the bother of hunting by adding a Reusable Blocks menu item, and tada: easy access!
function add_reusable_blocks_admin_menu() {
	add_menu_page( 'Reusable Blocks', 'Reusable Blocks', 'edit_posts', 'edit.php?post_type=wp_block', '', 'dashicons-editor-table', 22 );
}
add_action( 'admin_menu', 'add_reusable_blocks_admin_menu' );
3. Customise block styles
One thing I’ve noticed with other people’s Gutenberg development is a tendency to immediately leap at custom blocks as a solution to a problem that a few lines of CSS could probably solve. Of all the Gutenberg sites I’ve developed, only one of them has actually required a custom block, and that’s just to do fancy things with a custom post type (something that will become redundant when the Query block hits core)
Anyway… obviously I can’t expect my clients to remember CSS, nor indeed get them to utilise classes on blocks, but by adding block styles I can give additional options to the standard blocks that I can then fully control via the theme’s CSS.
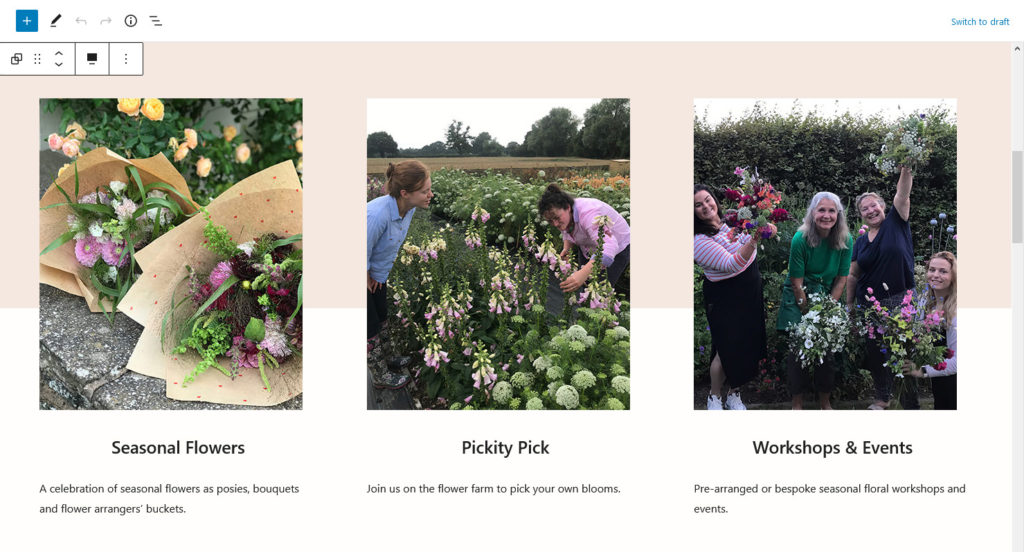
As a basic example, these three sections all represent the same block structure – a Group containing a Columns block with 2 columns, with an Image or Cover on one side and text of some description on the other:
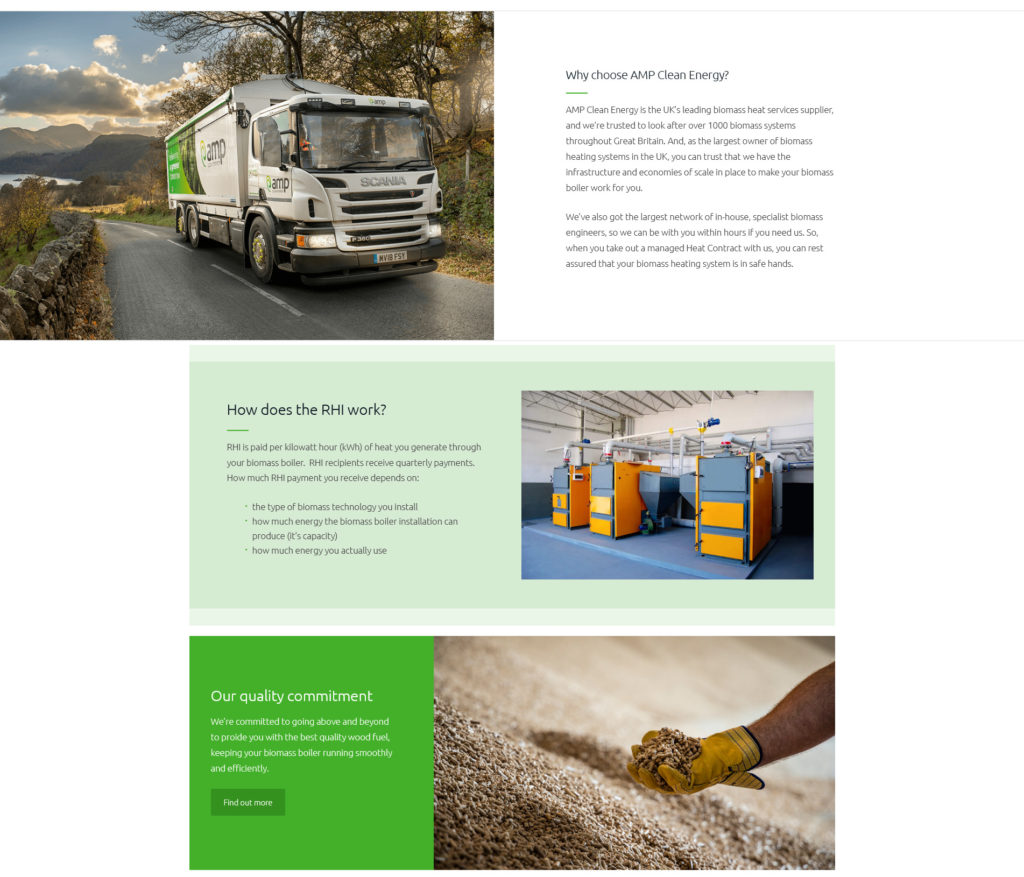
…which then utilise different block styles to control and fine-tune the display. This is a basic example, but block styles can be applied to all blocks, allowing you to nest and manipulate content as you see fit.
Bill Erickson does a great job of explaining how to add and remove Gutenberg block styles if you’d like to learn more.
4. Dequeue the standard block library CSS and use my own
Or rather, I save a copy of the current version of the block library styles — /wp-includes/css/dist/block-library/style.css — as e.g. gutenberg.css in my current theme folder, enqueueing that (unmodified) instead. Why? Because early on in the development of my first Gutenberg-heavy theme, I relied on the styles coming from WordPress core and then an update came out that completely totalled half the pages.
This puts the onus on the developer (i.e. me) to merge in changes that occur later on, but it’s a lot easier to gradually add in new stuff (and chargeable, if you’re doing this for dosh) than it is to unpick damaged old stuff from a live site following a ‘broken’ upgrade.
5. Utilise keyboard shortcuts
Gutenberg respects most standard Windows / Mac keyboard shortcuts e.g. CTRL + Z, CTRL + C (or the Mac equivalents), as well as various typical word processing shortcuts (CTRL + B for bold, CTRL + I for italic for example).
In addition to this, it has a few of its own. For example, pressing Enter while focus is on any of the standard blocks inserts a new empty block; if you’re on an Image or Cover block, the new block is inserted before, otherwise it appears after, and from there you can start typing (a la Paragraph block). Alternatively, from your empty block if you type a forward slash — / — Gutenberg will bring up a list of blocks, and you can start typing the name of a block to refine this list down futher. I find the forward slash must faster than hunting down the ‘+’ icon, especially when you have multiple nested blocks and the ‘+’ might correspond to the wrong parent!
For a full list of keyboard shortcuts, press Shift + Alt + H while in the Gutenberg editor.
6. Use the breadcrumb trail and list view
If you’re nesting Paragraphs into Covers into Columns into Groups, or any situation where you have a series of nested blocks, there will come a time where you want to edit one of those blocks but you can’t quite click the right one inside the editor. This is where the breadcrumb trail and list view come in handy.
The list view is the last icon along the top toolbar in Gutenberg (as standard if you’ve changed your toolbar preferences, it might not be last, or might not be there at all!)
If your cursor focus is on the document as a whole, clicking the list view brings up a list of all blocks. If your cursor focus is on a particular block, list view brings up a list of including that block and all children within it. E.g. here I’ve selected a single Group from within a series of Groups:
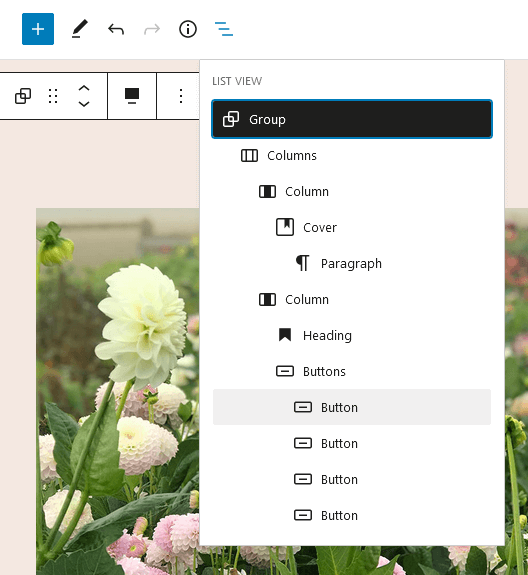
From there I can navigate easily between the content within the individual columns without having to click around the get cursor focus on the right block.
The breadcrumb trail — found at the bottom left of the editor when enabled — is slightly different, in that it simply allows traversal back up one particular ‘tree’ of blocks. Pictured here is the breadcrumb trail for the Button block highlighted in the List example above; as you can see, it misses out the first column and its children as well as unrelated children within the same Column:

So there you have it. Six ways I make my Gutenberg development easier. If you have any nifty tips and tricks for getting the most out of Gutenberg or have any questions, leave a response below or give me a shout on twitter @jemjabella
Images and screenshots taken from live and/or in development client sites; copyright their respective owners 2021 etc etc.
2 comments so far